Table of Content

In today’s fast-paced digital age, reliable internet connectivity is more important than ever. Starlink, a satellite internet constellation project developed by Elon Musk’s SpaceX, aims to provide high-speed internet access to underserved and remote areas around the globe. This revolutionary technology promises to bridge the digital divide, offering a viable solution for those who struggle with poor or non-existent internet services. This article will guide you through the process of installing Starlink, the necessary equipment, and key considerations to ensure a smooth and successful setup.
Technical Specifications
Overview of Starlink Technology
Key Components of the System
- Satellites: Thousands of small satellites orbiting at an altitude of approximately 550 kilometers.
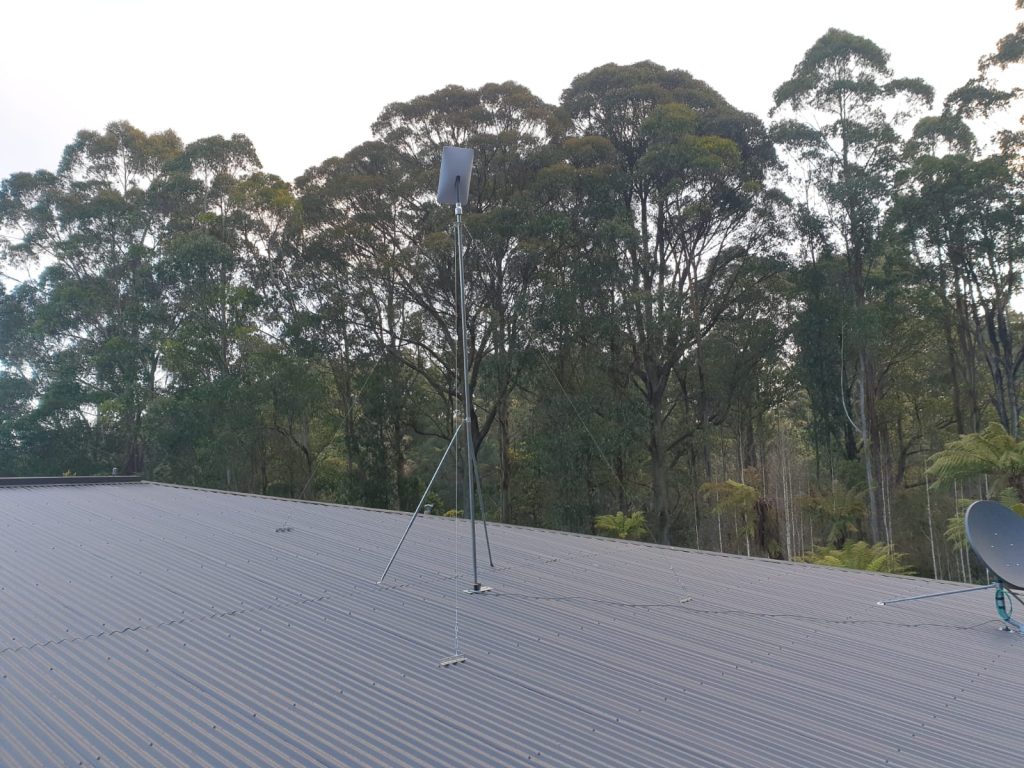
- User Terminal (Dish): The phased-array antenna that connects to the satellites.
- Router: Distributes the internet connection within the home or office.
- Cables and Mounting Hardware: Essential for connecting and securing the dish.
Applications
- Residential Use – Starlink is ideal for households in remote areas where traditional internet services are unreliable or unavailable.
- Business Solutions – Businesses in rural areas can benefit from Starlink’s high-speed internet to improve their operations and reach.
- Emergency Services – Starlink can provide crucial connectivity in disaster-stricken areas where communication infrastructure is damaged.
Benefits of Stalink
- Accessibility – Starlink provides internet access to remote and underserved regions, enhancing connectivity for millions.
- Speed and Latency – With speeds ranging from 50 Mbps to 150 Mbps and latency as low as 20 ms, Starlink offers a competitive alternative to terrestrial internet services.
Challenges and Limitations
Initial Cost – The initial setup cost, including the equipment fee and monthly subscription, can be a barrier for some users.
Weather Interference – Severe weather conditions can affect signal quality, leading to intermittent connectivity issues.
Limited Availability – As Starlink continues to expand, availability may be limited in certain regions.
Latest Innovations
Ongoing Satellite Launches – SpaceX is continuously launching satellites to expand the Starlink network and improve coverage.
Enhanced User Terminals – Development of more advanced user terminals to enhance connectivity and ease of use.
Beta Testing – Ongoing beta tests to gather user feedback and refine the service before a full-scale launch.
Future Prospects
Global Coverage – Starlink aims to achieve near-global coverage by the end of 2024, making high-speed internet accessible to almost everyone on the planet.
Improved Speeds – Future upgrades are expected to significantly boost speeds and reduce latency.
Integration with Other Technologies – Potential integration with 5G networks and other emerging technologies to further enhance connectivity.
Comparative Analysis
Starlink vs. Traditional ISPs
Starlink offers a competitive alternative to traditional ISPs, especially in remote areas where other services may be unreliable or unavailable.
Starlink vs. Other Satellite Providers
Compared to other satellite internet providers, Starlink’s LEO satellite constellation offers lower latency and higher speeds.
User Guides or Tutorials
Unboxing Your Starlink Kit
Step 1: Verify that all components (dish, router, cables, and mounting hardware) are included in the package.
Step 2: Read the installation manual for an overview of the setup process.
Choosing the Optimal Location for Your Dish
Step 1: Find an open space with a clear view of the sky, free from obstructions such as trees and buildings.
Step 2: Use the Starlink app to check for obstructions and determine the best placement.
Mounting the Dish
Step 1: Assemble the dish using the provided mounting hardware.
Step 2: Secure the dish to a stable surface, ensuring it is level and firmly in place.
Connecting the System
Step 1: Connect the dish to the router using the provided cable.
Step 2: Plug in the router and wait for the system to initialize.
Activating Your Service
Step 1: Use the Starlink app to activate your service and monitor the connection.
Step 2: Follow the on-screen instructions to complete the setup.
Troubleshooting Common Issues of Starlink
Intermittent Connectivity: Ensure the dish has a clear view of the sky and is properly mounted.
Slow Speeds: Check for obstructions and ensure the dish is correctly aligned.
Router Issues: Restart the router and check for firmware updates.
Starlink represents a groundbreaking advancement in satellite internet technology, offering high-speed connectivity to areas that have long been underserved. By understanding the installation process, equipment, and considerations, you can take full advantage of this innovative service. Whether you’re in a remote location or simply seeking a reliable alternative to traditional ISPs, Starlink provides a promising solution for the future of global internet access.
If you live around Melbourne and Looking for a reliable and professional Starlink installation. DJTV Services has you covered! With expert technicians and top-notch service, DJTV ensures a seamless Starlink installation, so you can enjoy high-speed internet without the hassle. Trust the professionals to get you connected quickly and efficiently.
Call us for a free quote today on 0482 584 555
